Shirting conversion

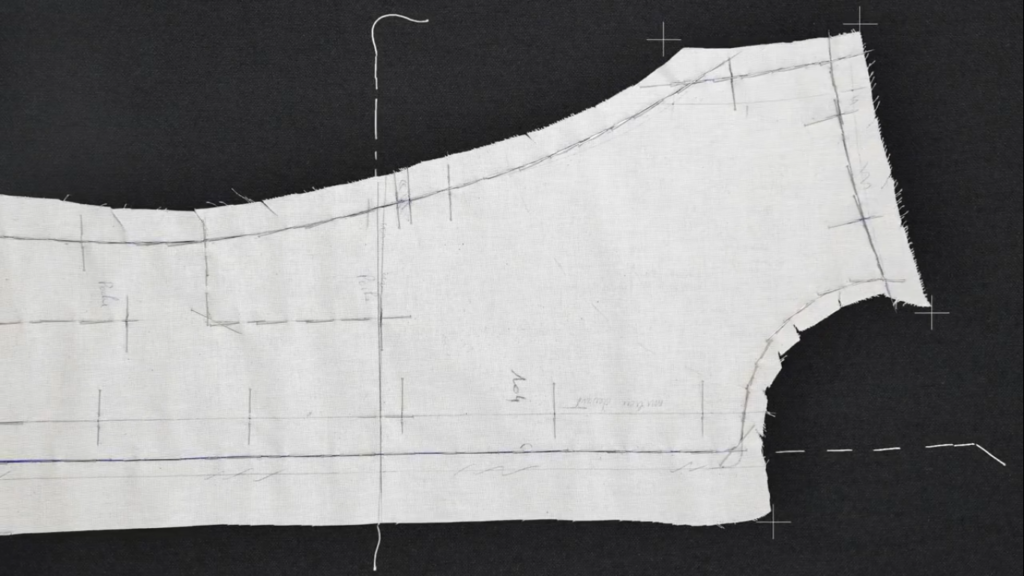
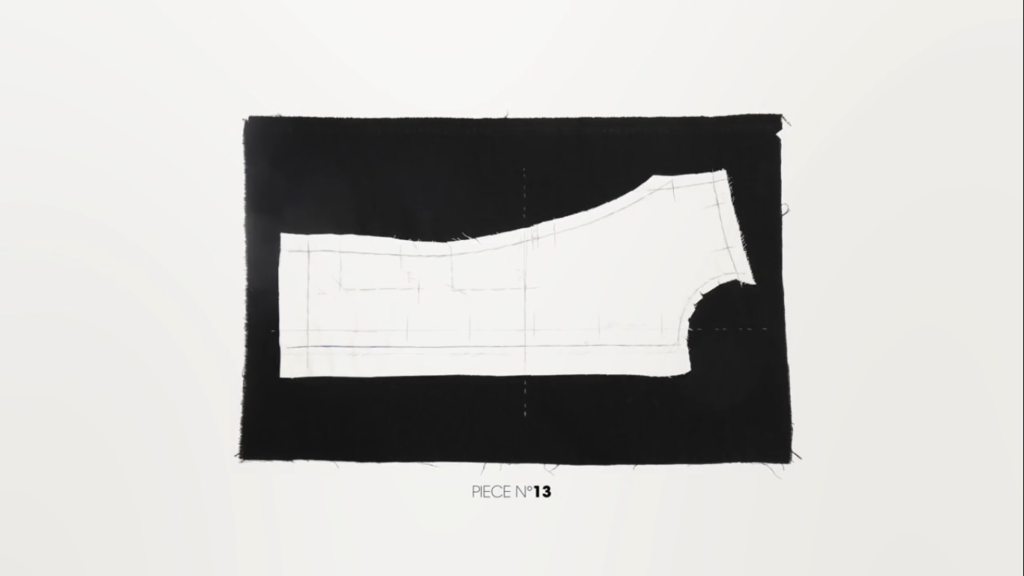
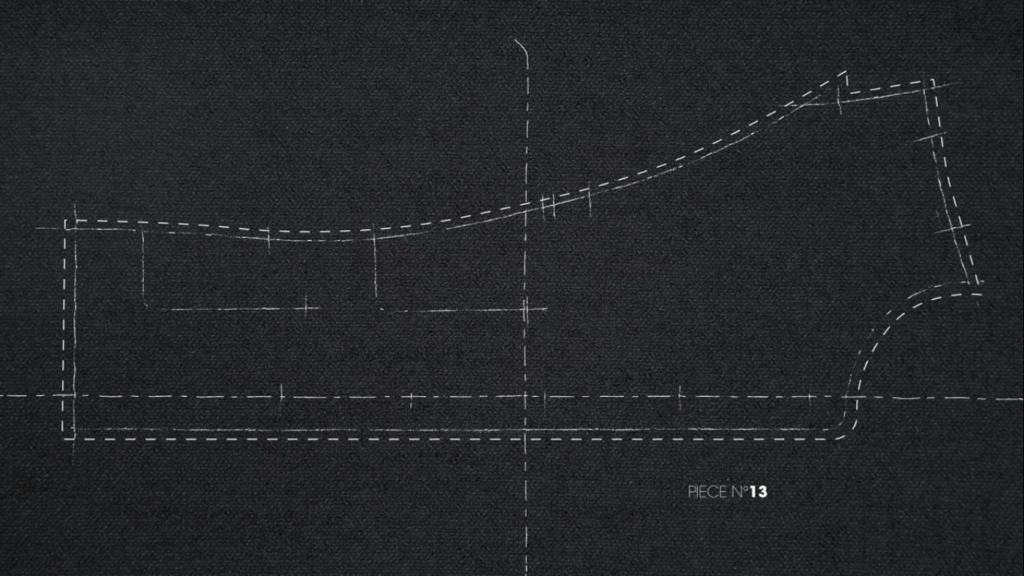
Construction steps to make a straight boxy shirt:

Marking:

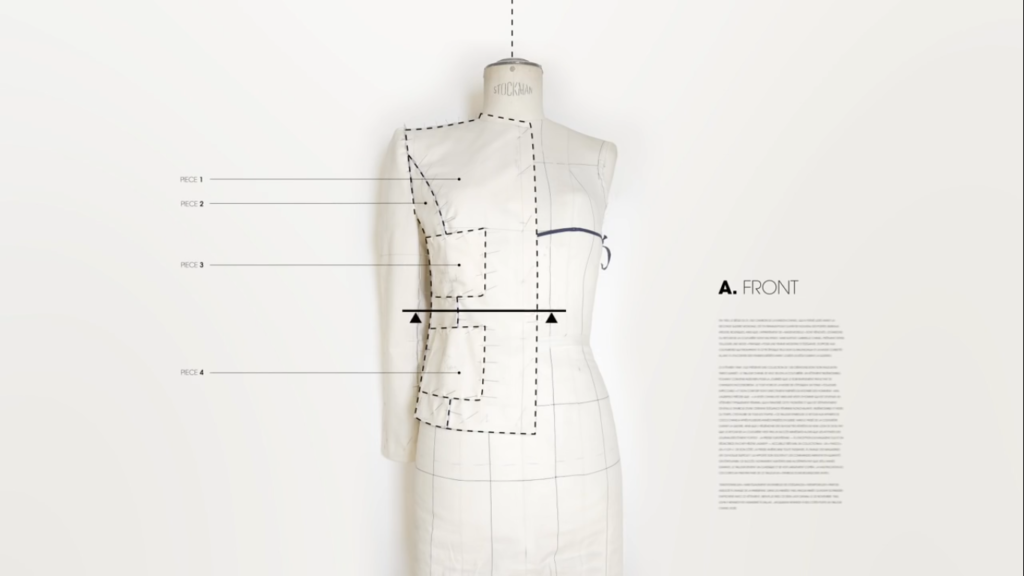
  1. Measure desired waist and mark. (24cm – 26cm from CF)
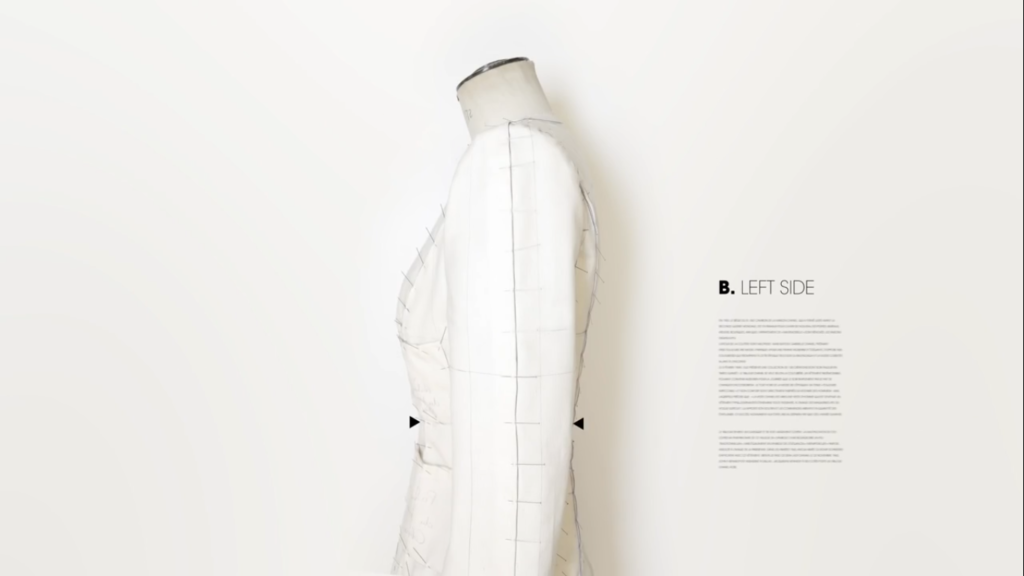
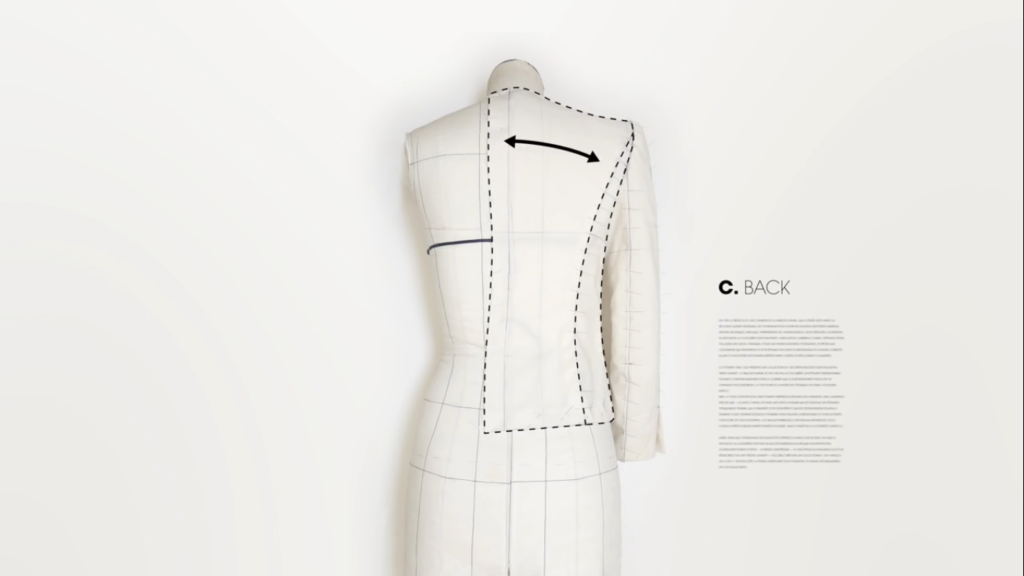
  2. Pin the original flat-fell seam so that the center of that seam is distinguishable and not moving.
  3. Mark all the way from the bottom of the shirt through the waist and through the sleeve. Note: You may want to preserve the sleeve and armhole point as much as possible, so perhaps curve into the armhole / sleeve area instea.
  4. The sleeve doesn’t need to be trimmed out consistently, so draw a line that makes sense
  5. Transfer line information to other sleeve. (Or, seam through the first bodice, and mark on to other side)
  6. Seam from the bottom of the shirt through to the sleeve following the points.
  7. Cut through original flat-fell seam line to release fabric.
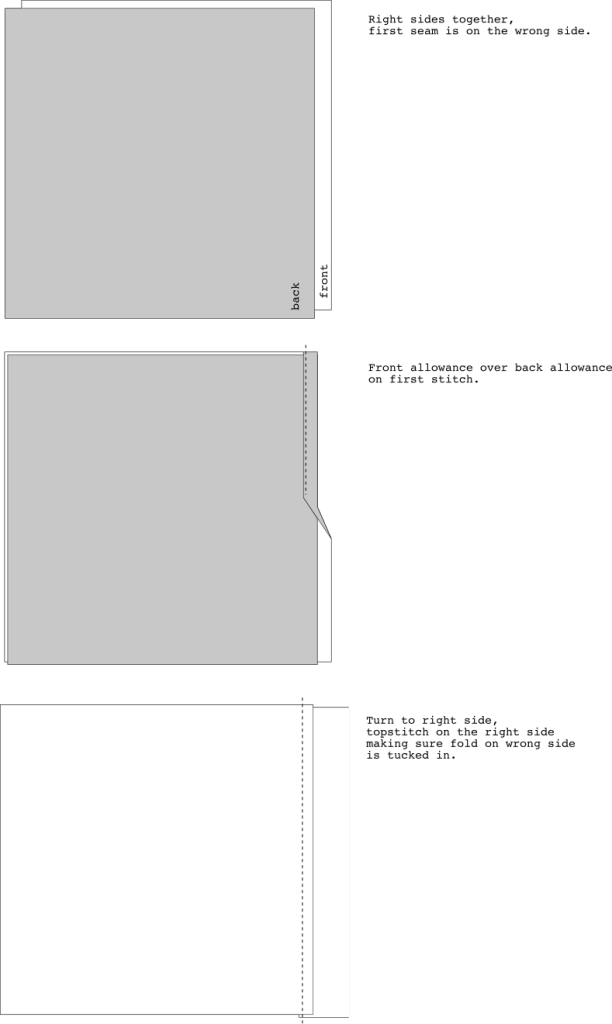
  8. Mark out 1/2″ inch from new seam line and cut through.
  9. Cut the front allowance fabric back to 1/4″
  10. Flat-fell seam through side seam. Remember to keep sleeve turned inside out while top stitching so that you can fold seam allowances in from underneath.
  11. Mark off hemline and roll-hem seam
  12. Fold back wrist openings and topstitch into place
  13. Remove collar and edgestitch collar stand


Women’s Jacket Design & Development Notes

Silhouette interpretation.

Take 30 measurements on body.

Using a Stockman mannequin to start muslin mockup.

Pattern & muslin addjustments.

Higher waistline for closer fit.

Screen Shot 2016-05-06 at 6.56.46 AM

Screen Shot 2016-05-06 at 6.56.41 AM

Rounder back for proportion.

Screen Shot 2016-05-06 at 6.56.51 AM

Cut sleeves higher to “liberate the movement”—possibly they mean to cut a lower cap height. This might be achieved by transferring the tighter shaping with the split seam running down the outside of the sleeve. (It is also possible that this might be a three part sleeve: undersleeve, back upper sleeve, front upper sleeve)

Screen Shot 2016-05-06 at 6.57.02 AM

Mark final fabric with straightline grain basting stitches.

Screen Shot 2016-05-06 at 7.00.16 AM

Pin muslin pattern to final fabric on grainline.

Screen Shot 2016-05-06 at 7.00.21 AM

Screen Shot 2016-05-06 at 7.00.32 AM

Outline with chalk / wax.

Screen Shot 2016-05-06 at 7.00.39 AM

Baste thread around chalk / wax lines.

Screen Shot 2016-05-06 at 7.00.48 AM

Assemble and baste for final fitting.

Screen Shot 2016-05-06 at 7.12.44 AM

Add trim, buttonholes, and buttons.

A “cigarette” for sleeve head shaping.

Screen Shot 2016-05-06 at 7.14.16 AM

Screen Shot 2016-05-06 at 7.13.59 AM

Screen Shot 2016-05-06 at 7.14.11 AM

Apply chain weight.

Screen Shot 2016-05-06 at 7.16.52 AM

Front & Back:

Finished Product:

Flat-fell basics

  1. Right sides togethers. (The first seam is on the wrong side.)
  2. Fold front allowance over back allowance on the first seam results in bulk and topstitch in the back.
  3. Turn to right side, fold seam allowance on wrong side to cover itself.
  4. Topstitch on the right side making sure seam allowance is folded under.

flatfell2a

Folding front over back on first seam results in: bulk in the back, and topstitch in theback.

Folding back over front on first seam results in: bulk in the front, and topstitch in the front.

Flat Fell Process

The following method produced an effect where the fold crease is towards the front, and the final topstitch is towards the back.

  1. Place fabric right sides together.
  2. Take the seam allowance of the front side and fold it back over the back side.
  3. Seam while trying to catch the very edge of the front side seam allowance. You should be sewing on the wrong side.
  4. Turn fabric to right side.
  5. Making sure seamed allowance on wrong side is covered, topstitch seam. You should be sewing on the right side.