From Sewing Secrets from the Fashion Industry, Susan Huxley:
- Cut two on-grain, 1 foot squares. Notch the warp, which is the set of yarns that run lengthwise and parallel to the selvage. On the wrong side of the fabric, place short lines, 10 inches apart, on all four sides of both swatches with a permanent nonsoluable marking pen.
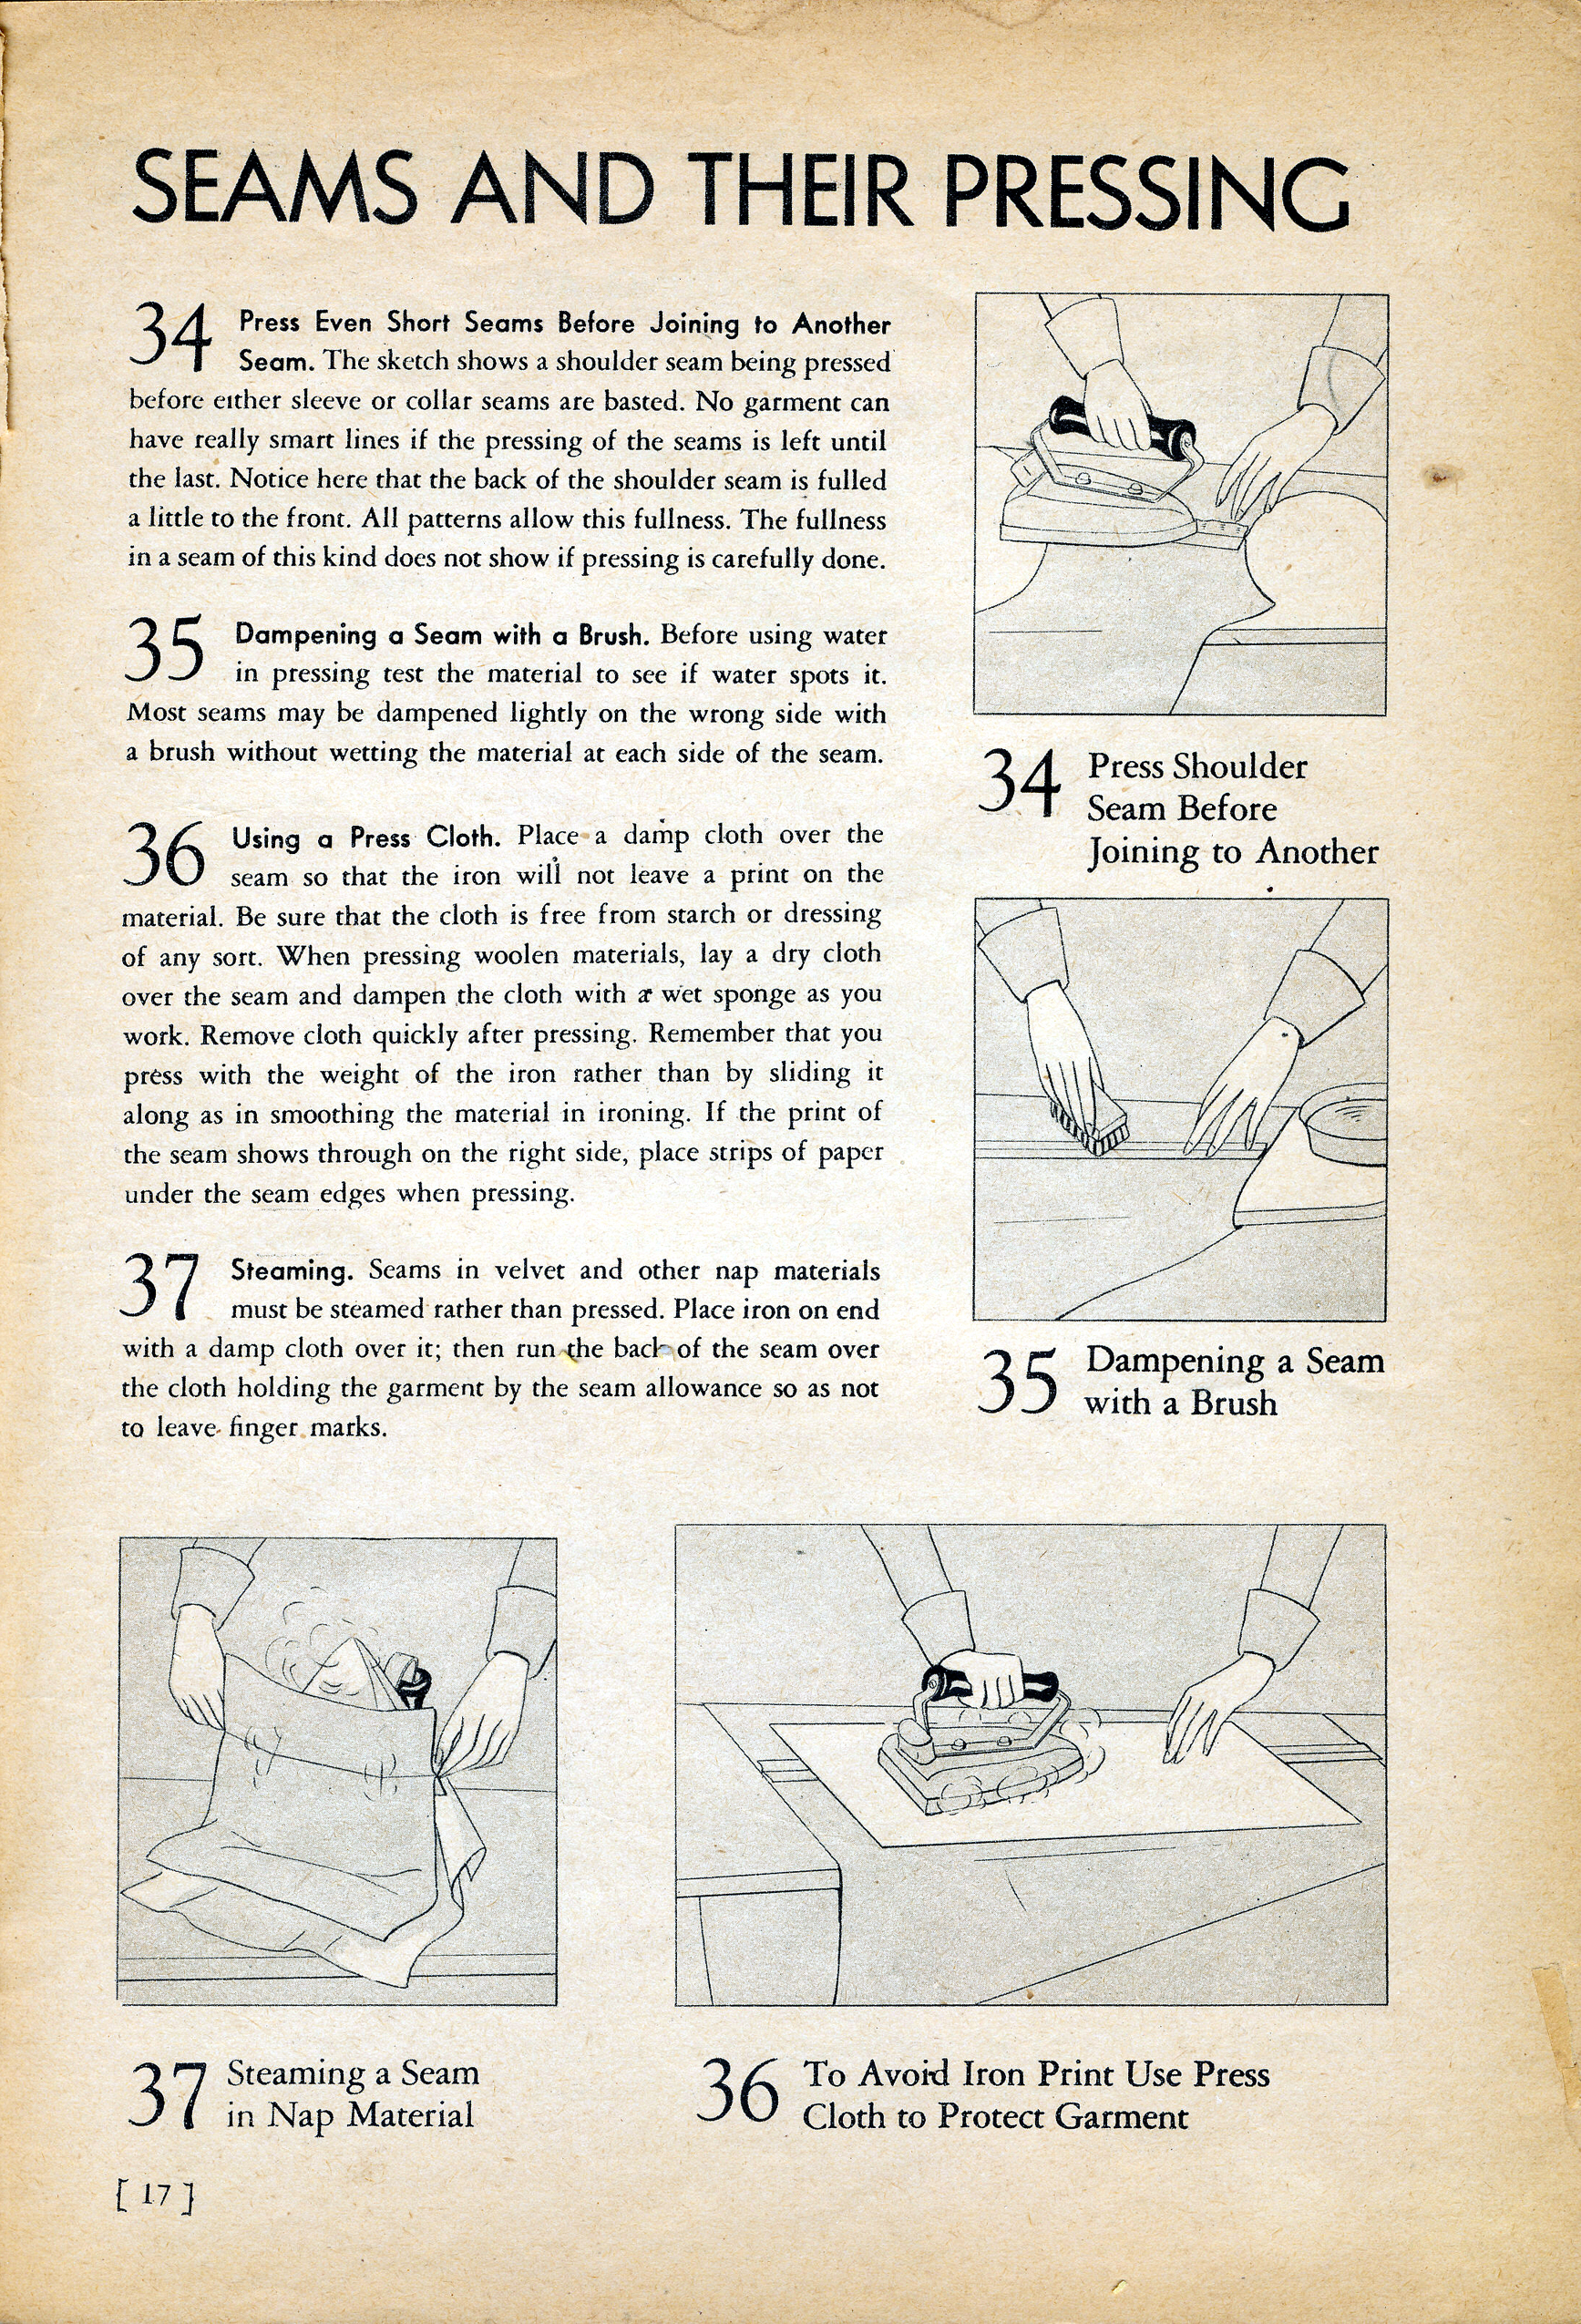
- Place an iron set on high and full steam on one swatch for 20 seconds. Wait on eminute. Repeat two more times. Let the swatch condition (rest undisturbed) for one hour. Gabardine, thick wool, or any other fabric that holds moisture must condition for four hours.
- Compare the swatch’s warp and fill measurements before and after steaming. Shrinkage can be greater in one direction. If the difference is significant, you should wash your fabric before cutting out the pattern pieces. If the shrinkage is minimal, you may still want to test a swatch.
- Launder the second swatch. Let it condition for one hour, then measure the length and width. As shown above, the tested fabric needs to be laundered. Even though steaming didn’t reveal significant shrinkage, the swatch that was machine washed and dried shrank more.
The standard for acceptable shrinkage at some companies is 2 percent in the warp and fill. This works out to be approximately 1/4 inch on a 1 square foot swatch. Growth of 1/8 is also fine. If test swatches fall within these ranges, you can pbypass prewashing fabric.
